Chris
Clor is a photographer and illustrator who utilises both the camera
and CGI to create his work, he specialises in conceptual, portrait
and product photography. This blending of different techniques
results in Clor's unique and recognisable cinematic style.
Chlor
has won several awards for his work including the Communication Arts
award and One Eyeland Photographer of the year and so often has his
work published in photographic press such as Digital Photographer,
Adobe Layers and Capture to name but a few. As a result of his
success Clor is sought after to speak at different schools and
universities and other photographic associations.
Clor's
usual clients include Shell Oil, Gillette and Ford Motor to name just
a few of the larger names. Often Clor doesn't work just by himself,
he has a team of producers, stylists and assistants to help complete
his work, but he oversees all aspects personally. (Clor, C. 2014
[@http://www.clorimages.com/Asset.asp?AssetID=50414&AKey=KADJ6V2J])
I
found Chris Clor's work while continuing my research on surreal
landscapes. His work generated some ideas of creating ones on
different contexts.
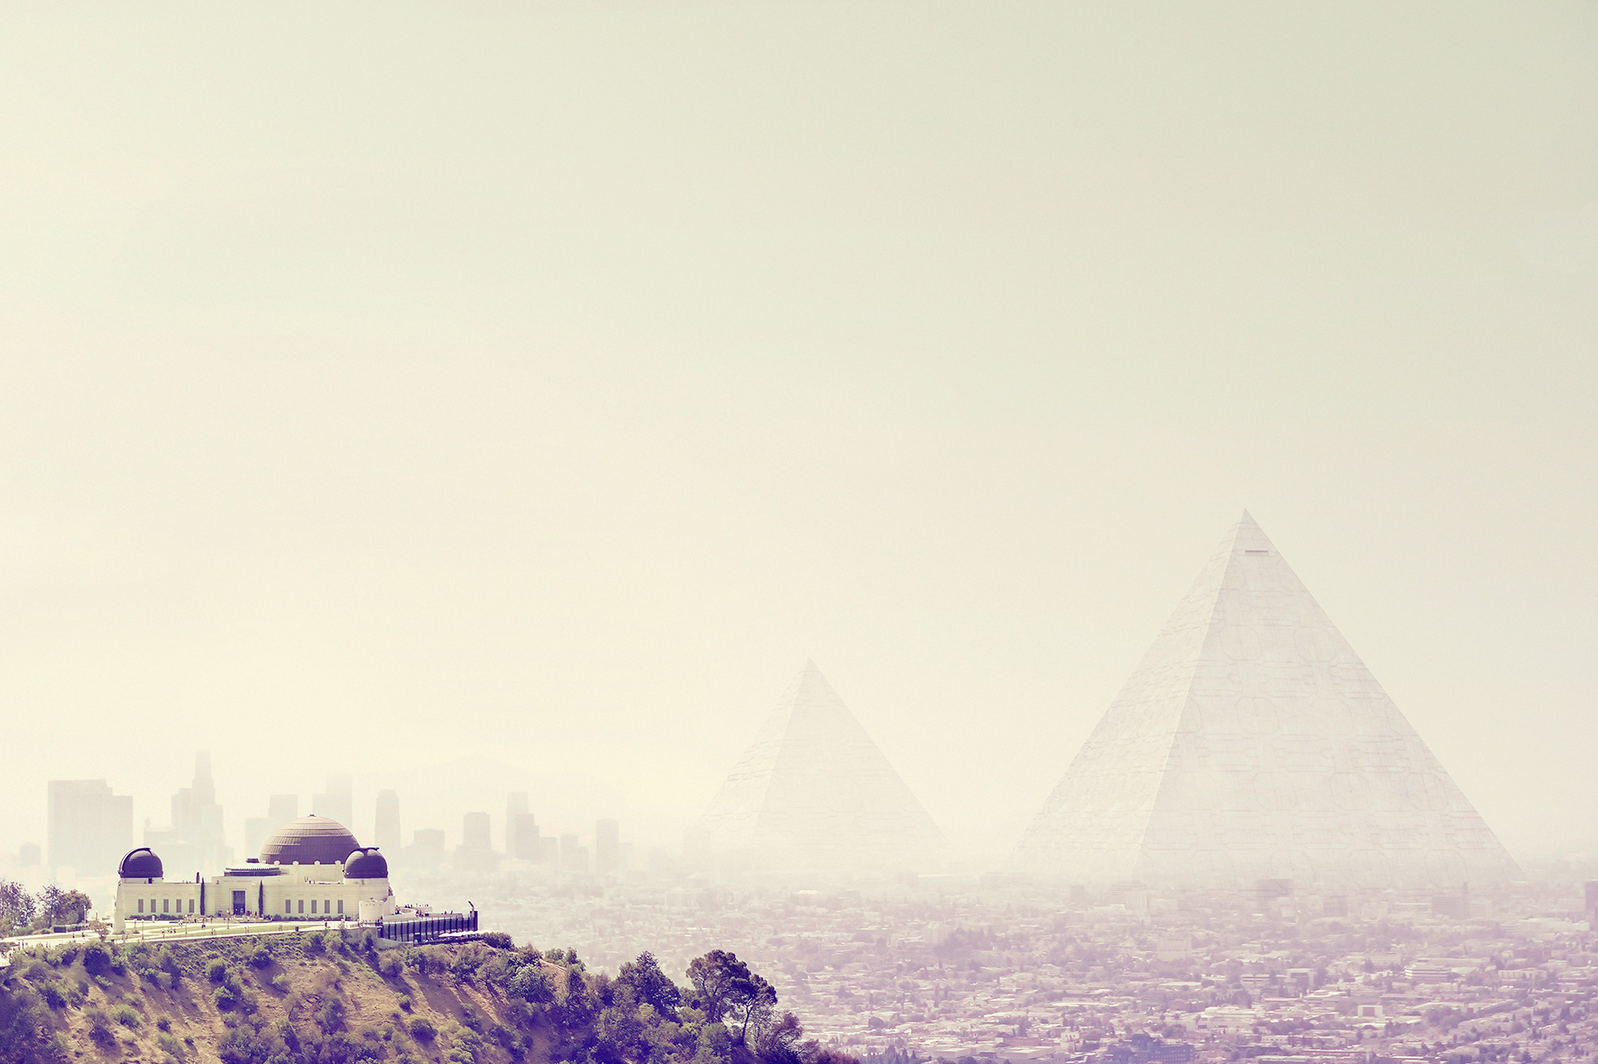
The
first being; creating a surreal alien environment by mixing different
architecture in environments where it just doesn't belong. These
images below, by Clor, are what inspired this idea. The pyramid
outside of a city casts a strange alien atmosphere across the entire
image. It reminds me of different sci-fi films and tv series, all of
which have to create this surreal alien environment by mixing props
into locations they don't usually belong, playing with scale and
perspective and other methods to create an atmosphere where the
subjects look quite unworldly. This would be done simply by using
forced perspective and different digital image composites.
 |
| Chris Clor |
 |
| Chris Clor |
 |
| Chris Clor |
The
second idea; quite simple and perhaps harder to accomplish, similar in
some respects to the first idea, putting different animals into
locations and environments they don't belong. The ideal and most
effective way of doing this would be using CGI, but other methods
would include getting wildlife shots at a zoo perhaps and they
compositing them in. Obviously this would be harder to make
believable because of matching lighting, perspective and other
factors. But it doesn't have to be animals, I could use other props
to a similar effect.
 |
| Chris Clor |
 |
| Chris Clor |
The
third idea; this final idea is from these images below by Clor. It's
simply putting things from a different time into the modern
landscape. This could be a historic building in a modern environment
or like the images, a person dressed as historical character in a
modern place. This will give the images a timeless surreal atmosphere,
but perhaps not quite what i'm looking for, depending on the degree
as to how this is done will determine how surreal the images are. For
example a historical building in a modern landscape might not seem
that surreal, but a person dressed as historic character, like in
these images, would seem quite surreal depending on certain factors
as they could just look like a person dressed up, the images would
need to look quite immersive which could be quite tricky.
 |
| Chris Clor |
 |
| Chris Clor |
Overall
I find Clor's work quite inspiring, it has led to some insights and
generated some ideas of where to take my current project making it
seem more feasible in some ways.


